

Garage Guide
Date: December 2023
Class: ATLS 3300 - Object
Inspired by my small garage, I built a device to help me park. I have to get quite close to the front wall of my garage in order for my car to fit, so having help is immensely useful.
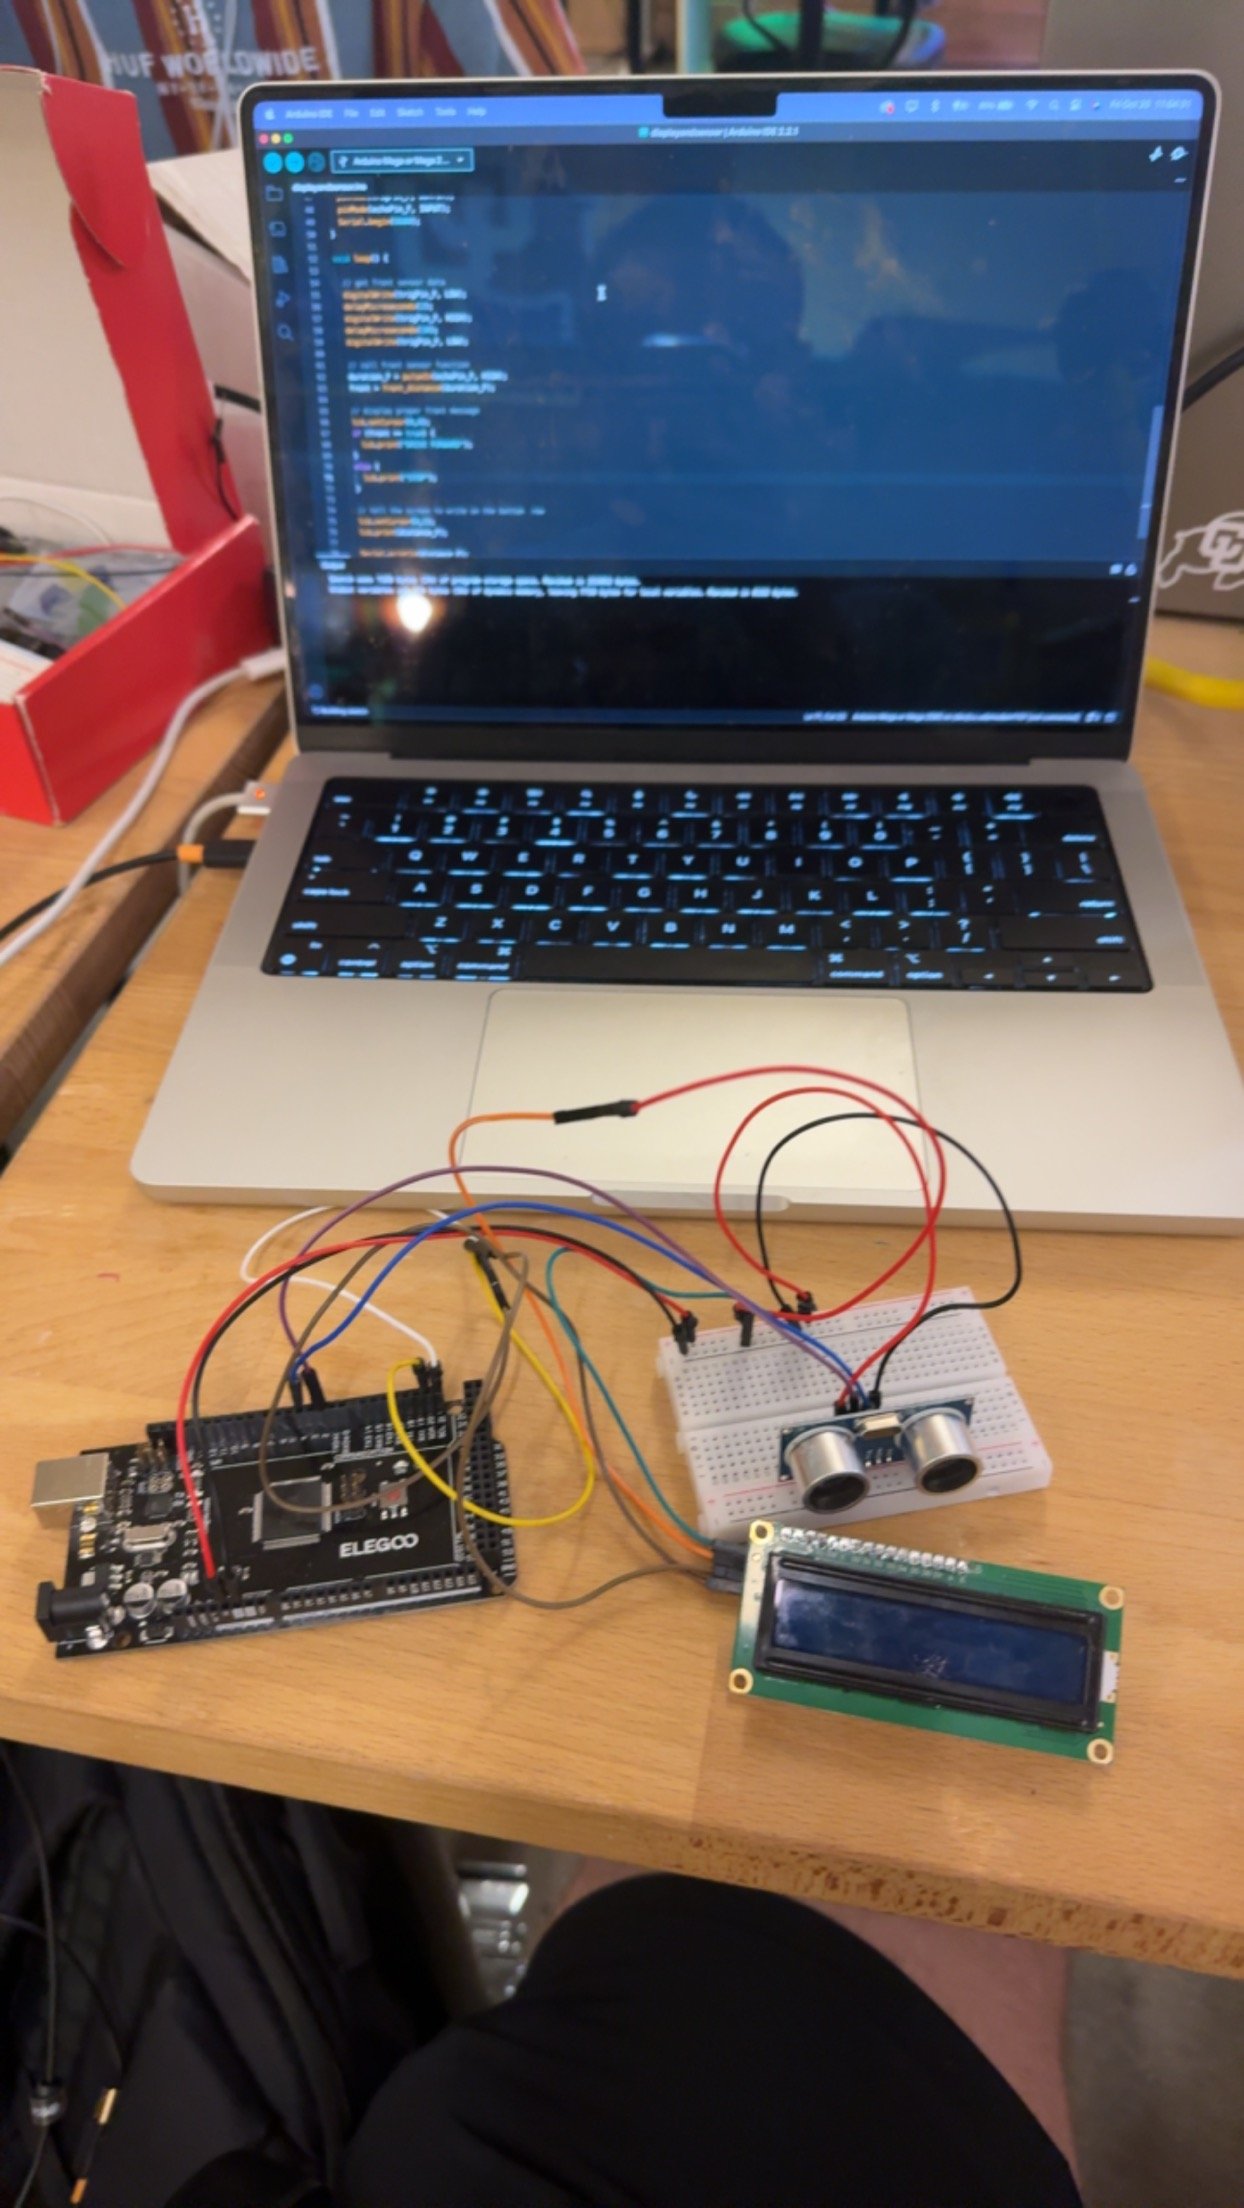
For version one, I built a scaled down version with just the essentials. This iteration used an Arduino, an ultrasonic distance sensor, and a liquid crystal display.
I programmed the Arduino to respond with two distinct messages depending on input from the ultrasonic sensor. When the distance was large enough and the car could continue forward, it told the user to keep driving forward. Likewise, when the distance was small enough, a “stop” message was displayed.
The LCD screen also displayed the distance between the ultrasonic sensor and the car, as to help the user be more aware of just how much room there was between the car and the sensor.
Going into version two, I utilized feedback I received as well as ideas I had while building iteration one. My first priority was to make this full scale; I knew a display like this wouldn’t translate well to a scaled-up version, so I decided on making a sort of stoplight interface. The light will start off as green, progress to yellow when the driver was approaching the wall, and end with red when the driver should stop. Additionally, there will be audible cues that progress as the distance decreases.
My first step was to figure out the basics for the two components I was adding: neopixels and a buzzer. Thankfully, both were simple enough to figure out with a bit of Googling and some fairly straightforward coding.
Thanks to a lot of thinking and very precise measurements (and honestly some luck), the stoplight enclosure came together nicely. One strip of neopixels runs along the top, one of the sides, and the bottom of the enclosure. Each lights up individually in its respective color, controlled by the code.
The smaller enclosure houses the ultrasonic distance sensor, Arduino, and the majority of the circuitry. It connects up to the stoplight, and allows for the distance sensor to be placed lower down to properly sense the car. This is also the enclosure that gets connected to power.
Designing and building the stoplight enclosure was honestly quite the challenge. I decided to use pieces of acrylic with etched circles as a means of displaying the lights. Using neopixels aligned on the top and bottom of the pieces of acrylic, the etched circle would (in theory) illuminate. I test-printed some pieces that could hold the acrylic in place, have the neopixels slide in, and ensure the LEDs were aligned with the acrylic.
In the end, I’m very proud of my final product. There were certainly challenges along the way, but my end result functions entirely as intended, is a significant upgrade from my first iteration, and looks pretty cool (if I do say so myself). It has definitely earned itself a permanent spot on my garage wall.


